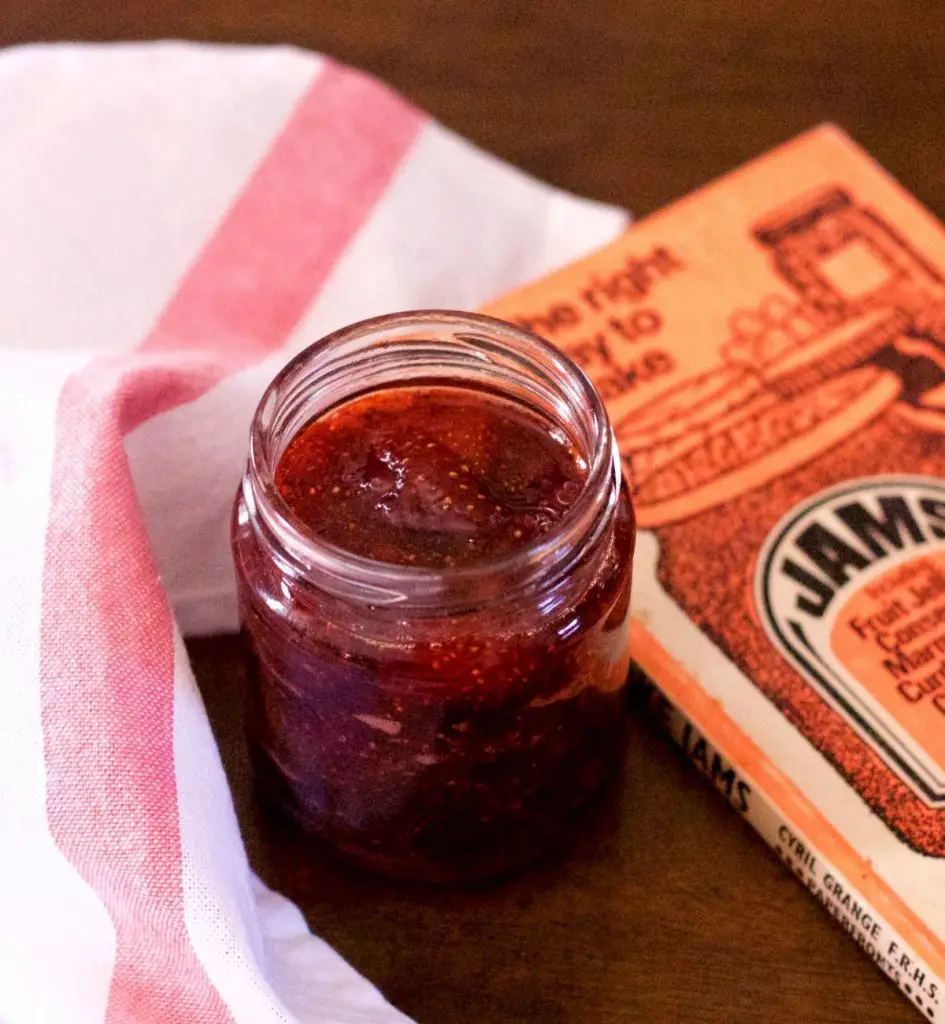
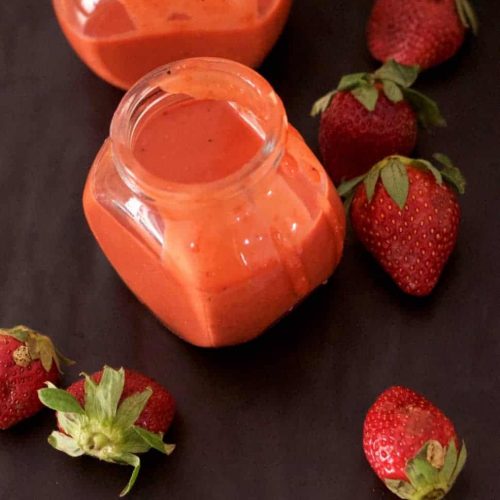
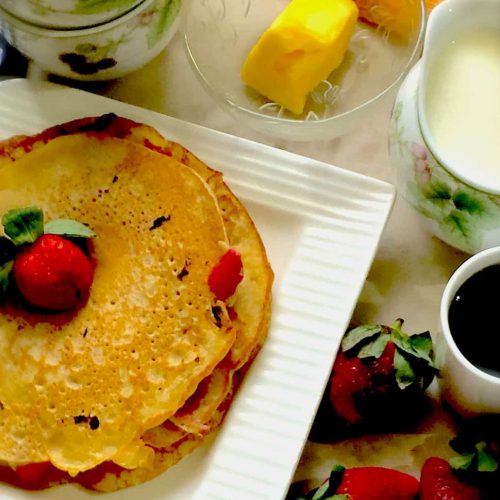
Strawberry Jam. On a slice of warm bread. Or on pancakes or crepes. Or chapati. With dosai. Or just had by the spoonful. Is there anything more delightful than this burst of deliciousness that you can make so easily at home.
Important aspects in making Jam
Making strawberry jam is very easy. You just need to plan your time so that you give full attention to it during the 45 minutes or so it takes to get done. You need to keep stirring the mixture as it cooks, as well as watch for the different stages so that you know when to test that the jam is ready to be bottled. If the jam is underdone and runny, it is easy to get to the final stage, however if it is over cooked, it will harden and lose it's jammy consistency. It can't really be brought back from that point.
As with all my jams, I have used this article in Serious Eats to plan the proportion of ingredients, as well as to figure out when the strawberry jam is done. This article is brilliant, and I would recommend you read it before embarking on jam making.
Points to Keep in Mind For Jam Making
1. As a thumb rule, I take about 50% of the weight of the berries (after their top and leaves are removed) for the sugar, unless the berries are really really sweet, in which case I would reduce the sugar to 40%. Though I have given US cup measurements for reference in the recipe, it is best to follow the weight of ingredients to get the proportions right. Too much or too little sugar or water can affect the results and leave you with a runny liquid rather than a nice jar of jam.
2. Granulated sugar (our every day sugar with tiny crystals) is best, as you can visibly see it dissolve and know that the first stage has passed. Sugar plays a crucial role in making the jam. As you know, there is water content in the fruit as well as water we add to boil the strawberries. Though needed for the cooking process, the water can (or rather, will), prevent the strawberries from thickening, by clinging to the pectin released by the strawberries and the lemon juice. The sugar we add binds itself to the water, leaving the pectin to work its magic. After that its just a matter of reducing the water through cooking, until the right consistency is reached. Hence it is important to follow the proportion of sugar in the recipe. The bonding of water with sugar, as you can read in the article referred to above, helps in preservation of the jam.
3. Lemon juice is a significant ingredient in jam making. Store bought bottled lemon juice may be used. The juice not only balances flavours and keeps the jam from being overly sweet, but, more importantly, brings natural pectin to the mix. Strawberries are low in pectin which is needed to cause the 'gel' or 'jamminess' in jam. Lemon juice also plays a vital role in preserve the jam from spoiling.
4. The time required for making jam is not a constant. It depends on the quality/juiciness of the berries and the volume that you are making. Making large quantities is not a good idea as the jam may take forever to get done. 500 gms may be a reasonable quantity, and if you are making it for the first time, 300 gms may be a good place to start from as its neither so small that it cooks in minutes, before you are prepared for it, or so large that it tests your patience. Watch the jam as it reaches each of the stages described in the recipe, and remember to turn off the heat once the jam begins to thicken at the edges, become glossy/ shining and it has almost stopped bubbling. At this point, you need to act quickly and do the frozen spoon test to test that the jam is ready for bottling.
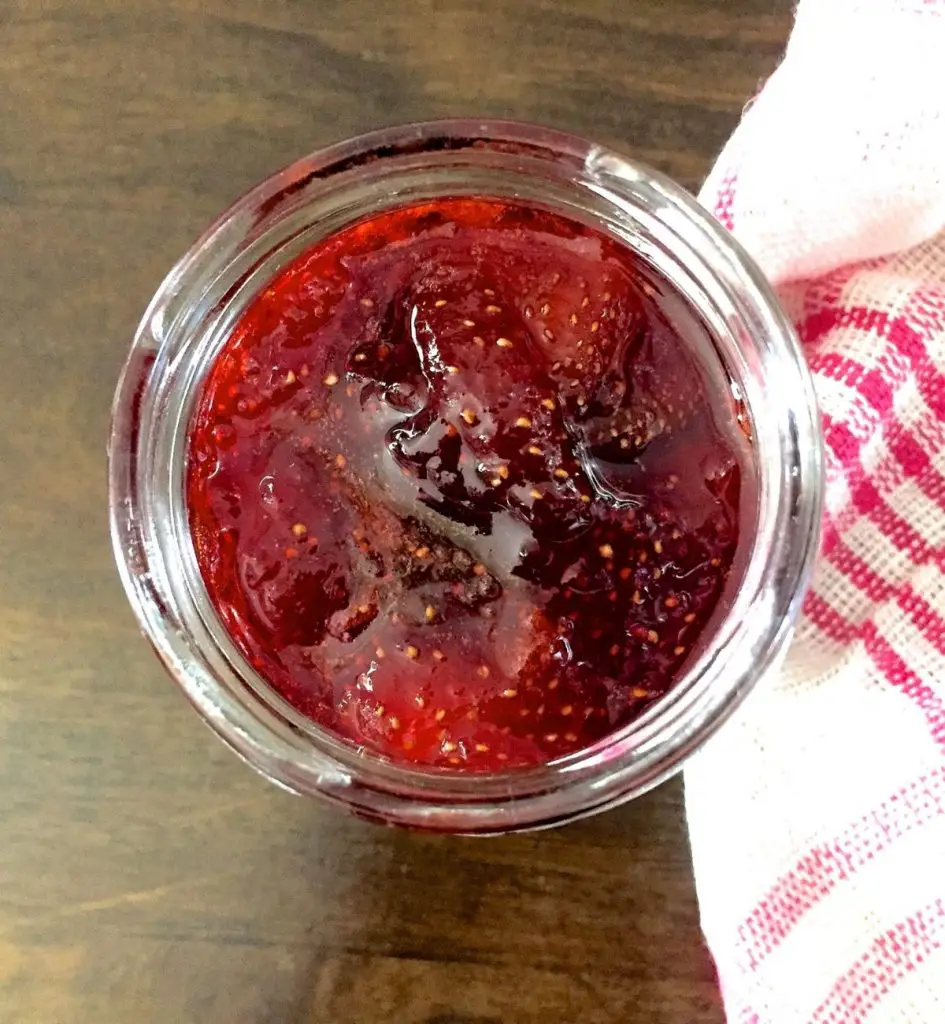
For more about strawberries and for delicious dressing and salad recipes using them, check this post on this blog: Fresh Ripe Strawberries.
Other Recipes You May Like:
"Recipe"
Easy Strawberry Jam - No Added Pectin or Preservatives
Ingredients
- 300 gms Whole strawberries about 2 cups with tops removed
- 150 gms Granulated sugar about ¾ cup (50% of strawberry weight)
- 24 ml Lemon juice ½ tablespoon (8 ml) + 1 tablespoon (16 ml)
- 60 ml Water about ¼ cup
Instructions
Preparation
- Wash, drain and dry the strawberries well. Gently slice off the leaves at the top. Either take away a thin slice of the top, or cut a 'v' into the top to prise the leaves out.
- Slice the strawberries into 2, length wise ( I often add them whole if they are not overlarge). Place the strawberries in a bowl ( I prefer a glass bowl), add sugar. Add ½ tablespoon of lemon juice. Stir gently till all the sugar is moistened.Cover the bowl and allow to stand at room temperature for 10-15 minutesMeanwhile, place 4-5 large spoons in the freezer so that they are ready for testing the 'doneness' of the jam.
Making Strawberry Jam
- Heat a heavy bottomed pan on the stove. The height should be about double the volume that the strawberries will occupy, to give sufficient room for making the jam.Transfer the strawberry mixture to the pan. Add water, stir well but gently.
- Keeping the heat on low, cook the berries in the water till all the sugar melts. Stir frequently so that it doesn't catch at the bottom of the pan.Once the mixture begins to bubble, you may get a faint aroma of strawberries. This could take very little time (about 3 minutes) for small volumes as in this recipe, or up to about 15 minutes for larger quantities.Continue to cook the fruit mixture on low heat, stirring frequently. Foam will begin to form on the surface.
- Keep stirring as the jam cooks, still on low heat, until the foam subsides. This may take 15-25 minutes or more. At this stage, you could remove the foam on the surface, with a dry wooden spoon or ladle. The aroma from the jam will be stronger now and the jam will show signs of thickening.
- Taste the jam by taking a little on a dry spoon, allowing it to cool before you taste. If the jam is sweet, add the remaining lemon juice, a few drops at a time, stirring well and tasting at each stage. Once the jam reaches a balance of tart and sweet, i.e. when the lemon flavour is just barely perceptible, stop adding lemon juice. You don't want the lemon flavour to overtake the taste of strawberries.
- Allow the jam to cook, stirring periodically, till the bubbling reduces (5-15 minutes). The jam will have a glossy shine, and will show thickening at the edge of the pan. Remember that it will thicken further as it cools.
Frozen Spoon Test for Strawberry Jam
- Turn off the heat. Remove one of the spoons you had placed in the freezer, and immediately add a dollop of jam on it. Tilt the spoon and see how the jam moves across its surface. If the jam holds together and does not run off the spoon, but moves forward very slowly, it is done. If it is runny, turn on the heat again, on low, and continue to cook. Keep stirring frequently to prevent scorching. Repeat the spoon test every 5 minutes, till the jam passes the test. (Note: The Serious Eats blog advises that jam be added to the frozen spoon and the spoon replaced in the freezer for upto 5 minutes, and then checked for runniness/ whether done.)Transfer while hot to sterilized jam jars. Wipe off the top and sides of the jar for any jam sticking to them. Allow the jam to cool completely and close the lids. My strawberry jam keeps good for months in the freezer. I keep it in small jars, taking out just one jar at a time, and placing it in the fridge till I've used up all the jam in that jar. I make sure I use only dry spoons for taking out the jam.



Comments
No Comments